Boost conversions with Kartra’s all-in-one simplicity.
Kartra isn’t just the best landing page builder. With email marketing tools, online store capabilities, and a seamless workflow, it’s the best business software for everything. Discover the advantage of using Kartra’s all-in-one platform.
With every tool integrated, you’ll streamline your process without the hassle of managing separate accounts. Sync data effortlessly and watch your conversions soar.
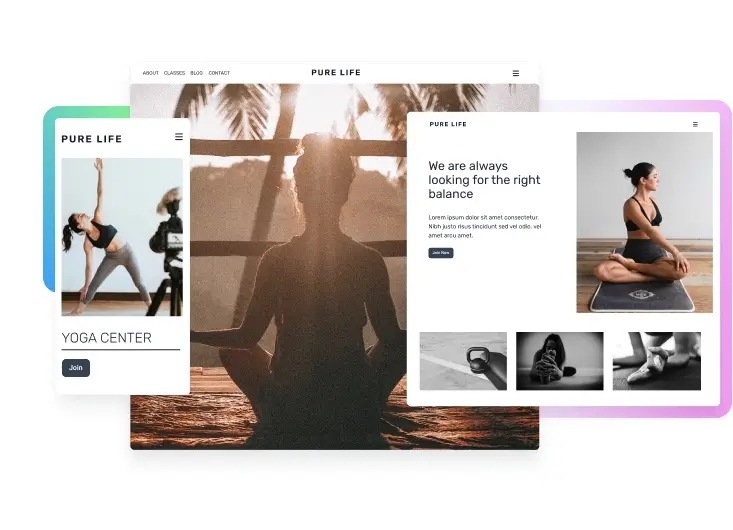
Our intuitive drag-and-drop editor lets you effortlessly integrate social media into your landing page design with Kartra’s customizable widgets.
Landing pages, exit intents, and informative pop-ups
Retain user attention and provide valuable information at key moments. Kartra’s drag-and-drop builder simplifies landing page creation without sacrificing quality.
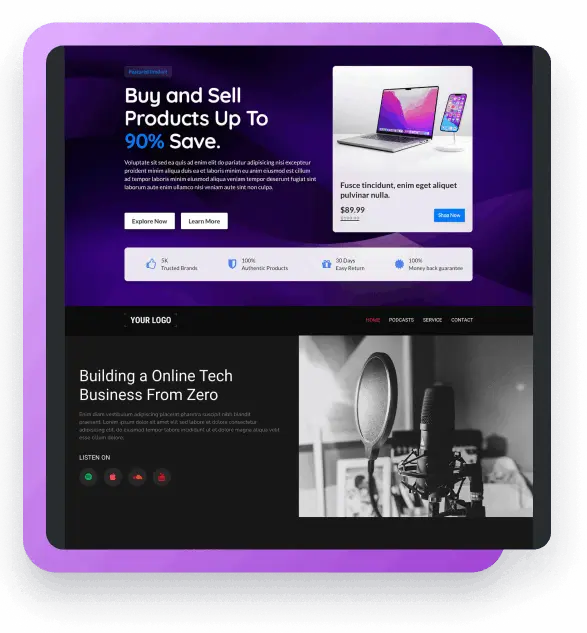
Action buttons and symbols
Make your good landing page great with action buttons and symbols that guide your visitors towards your desired actions.
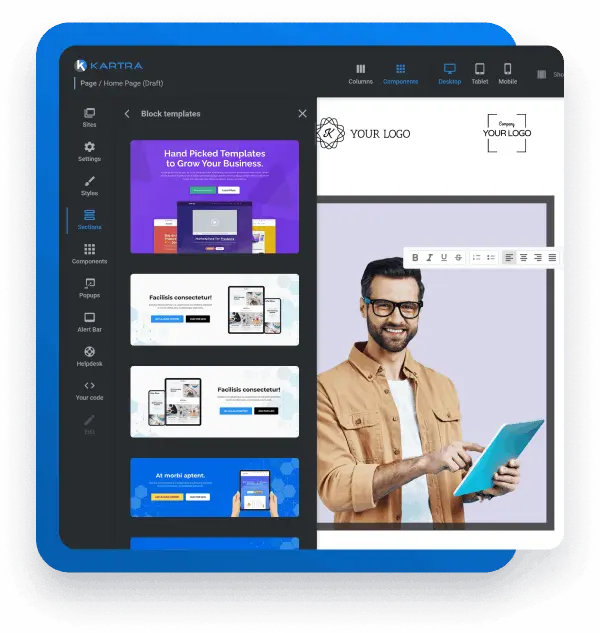
Save time with ready-made templates.
Don’t fancy diving into design? No problem. Kartra offers 100+ stunning pre-designed templates to whip up a page in minutes.
From lead captures to sales, checkout, video, webinar, coming soon, and blog pages, we’ve got you covered. Find the perfect template for your industry, all expertly crafted to convert by marketing experts.
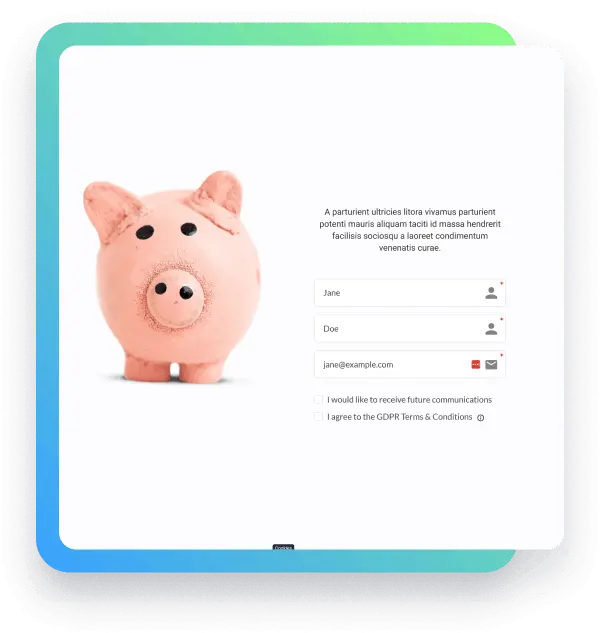
Create forms that convert.
Lead capture forms
The cornerstone of list building, our lead capture forms let you customize call-to-action (CTA) fields and auto-fill information for returning visitors.
Checkout forms
A seamless and user-friendly checkout form can significantly impact your sales. Kartra Pages offers two types: a straightforward single-step form or a multi-step option for added convenience.
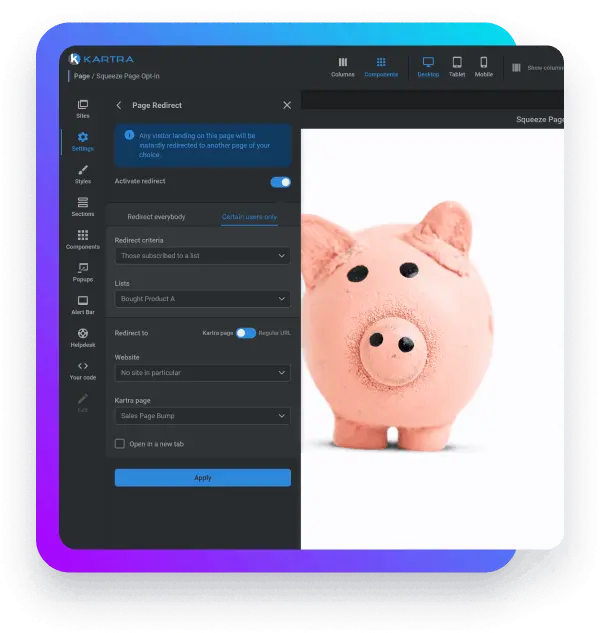
Optimize your pages for each visitor.
Tag-based content
Enhance conversions by customizing content for specific segmentations, like gender, with Kartra Pages automatically displaying relevant sections.
History-based content
Showcase the right health products based on purchase history—advanced marketing campaign options for repeat customers, starter packs for new ones.
List-based content
Grow your email marketing mailing list effortlessly. Kartra Pages detects subscribed visitors and adjusts the display of sign-up forms, avoiding unnecessary repetition.
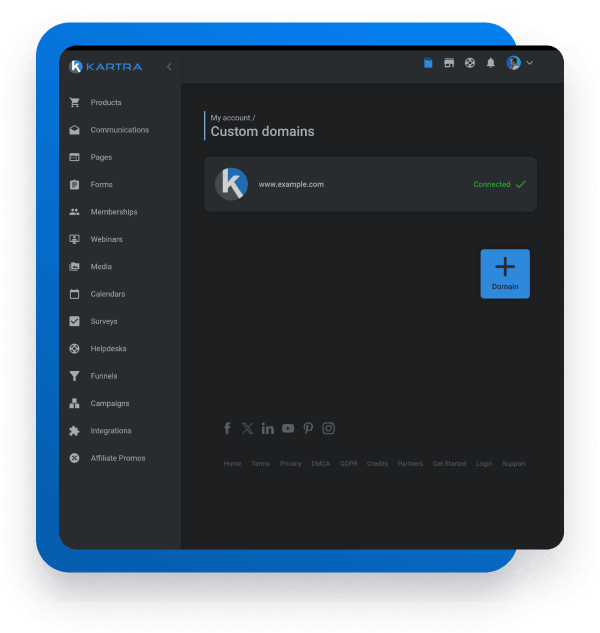
Maintain your domain presence.
Host on Kartra
Don’t have a domain? No worries. Kartra hosts your pages at no cost. You’ll receive a unique subdomain like https://YourUsername.Kartra.com/page_name
Publish to your domain
Prefer your brand on your custom domain or a WordPress blog? Kartra’s One-Click-Push feature swiftly publishes your pages to your domain. No uploads, no file edits, no FTP hassle — just a single click to go live.
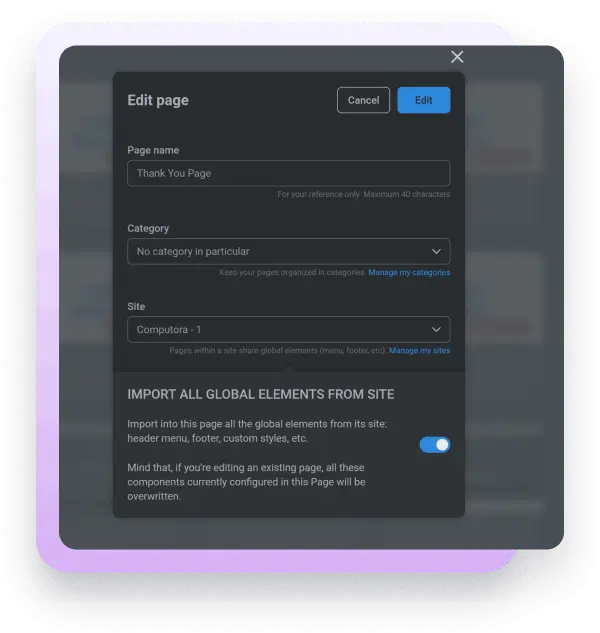
Create complete websites.
Consistent menus and footers
Implement unified header and footer menus across your entire site. Any additions or changes automatically reflect across all pages.
Uniform styles
Maintain consistent branding by applying the same logo, colors, and custom styles to every page within your site. Let your site speak with a unified identity.
Unified tracking codes
A single paste of your tracking code applies it universally across your site — no more repetitive pasting for each page.
Enhanced SEO
Improve your SEO ranking by presenting your entire site cohesively to search engines like Google, rather than just segmented pages.
Creators use Kartra to do and earn more.
Everything you need to build modern UI and great products.
718k
Pages launched
9.7m
Leads generated
340k
Campaigns running
Kartra’s landing page builder key features.
Extensive template library
Choose from over 500 professionally designed landing page templates, all meticulously crafted to ensure 100% mobile responsiveness.
Customization made easy
Experience our intuitive visual interface with drag-and-drop functionality. Modify every on-page element.
Native form builder
Craft compelling forms with ease and capture leads seamlessly into Kartra’s all-in-one ecosystem.
Streamlined checkout pages
Seamlessly connect your pages to Kartra Membership sites with a single click and create a harmonious user journey.
Effective upselling tools
Drive revenue by implementing powerful upselling strategies. Customers are more likely to buy something else at checkout, so make the most of that.
Dynamic pop-ups
Engage visitors at crucial moments with impactful pop-ups. Welcome guests, win back visitors when they’re about to leave, and streamline your main page with “show more” pop-ups.
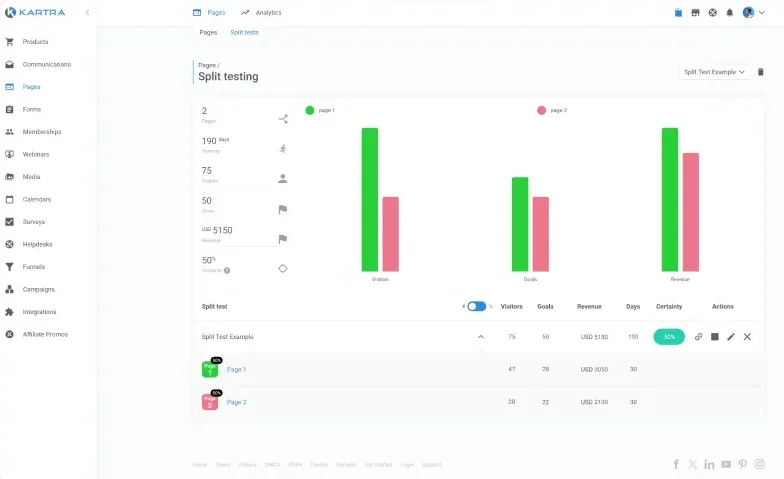
Effortless A/B testing
Optimize conversions with easy-to-use A/B testing features. Create up to four split tests at a time and allocate the traffic how you want.
Instant domain publishing
Set diverse pricing options – one-time, recurring, or installments for each product – and effortlessly publish your pages to your domain with a single click.
Comprehensive analytics
Leverage Kartra’s advanced analytics tools to track page visits, time spent on pages, and user devices. Use heatmaps to dive deeper into the analytics.
Kartra Pages conducts split tests using up to four distinct page versions per campaign. Feel confident in testing several variants at once.
Custom traffic allocation
Choose how traffic is split across versions — no need for a standard 50/50 split. Tailor the rotation percentages to suit your campaign’s needs.
Track goal achievement
Set specific campaign goals such as sign-ups, orders, or revenue. Kartra assesses the winning version based on these defined parameters.
Certainty ratio algorithm
Our exclusive Certainty Ratio algorithm ensures statistically relevant results by analyzing visitor patterns and goal deltas, providing a confident decision-making optimization tool for your split tests.
Join 20,000+ entrepreneurs and small businesses thriving with Kartra.
Kartra lets me build products, pages, and offers quickly. I’ve earned $24,000 since joining four months ago. It’s been a game changer!
Antonio Martinez
Coach
Kartra helps me reach small businesses and make a difference. I own 3 BNI Chapters and my members passed $10 million in referrals last year!
Steve Black
Networking Expert
I sent 204,000 emails with Kartra last month. Their deliverability is excellent and their all-in-one system is unmatched in the industry.
Everything you need to know about the product and billing.
Can I split test my landing pages?
Absolutely, you can conduct split tests effortlessly with Kartra’s landing pages. This feature allows you to compare up to four different versions of a page within a split test campaign. Determine custom rotation percentages and track key metrics to optimize your landing page’s performance for better results.
Can I keep my own domain?
Yes! You have the flexibility to use your domain with Kartra’s landing pages. The platform enables easy integration and provides One-Click-Push technology to publish pages to your domain within seconds, eliminating the hassle of manual uploads or FTP.
Do Kartra’s landing pages work for small businesses?
Kartra’s landing pages cater to businesses of all sizes, including small businesses – both brick & mortar and ecommerce. The builder offers a user-friendly interface and diverse templates suitable for various industries, empowering smaller enterprises to create effective, professional-grade pages for their marketing needs.
Is Kartra a free landing page builder?
While Kartra doesn’t offer a free plan for a landing page builder, it does provide a 30-day trial period. This allows users to explore the platform’s capabilities risk-free. With every pricing tier, you gain access to unlimited page building features.
Is there a learning curve to use Kartra’s landing page tool?
Using Kartra’s landing page builder involves a slight learning curve due to its robust functionality and features. But Kartra provides comprehensive tutorials, guides, and customer support to help you learn how to use the best landing page builder out there.
What kind of landing page metrics does Kartra track?
Kartra tracks vital landing page metrics like conversion rates and clicks to gauge performance effectively. Additionally, it offers insights into visitor behavior, engagement levels, and more, enabling users to optimize their pages for higher conversions and engagement.